
Published: 1st November 2012 | © Anthias Consulting Ltd
Modern autosamplers have become much more versatile and sophisticated than their original antecedents, so that they are not merely a device for replacing manual injection, they can now offer many options and improvements to the introduction of liquid and gaseous sample aliquots. However, as with most analytical equipment, each function needs fine tuning to produce the best results.
Solvents and syringe cleaning
A basic requirement for autosamplers is the prevention of contamination and carry-over between samples. Most autosamplers use micro-syringes very similar to those used for manual injection. However, syringes with a side-arm arrangement have been used to provide a “flush-through” approach to sample loading and syringe cleaning. One of the drawbacks with this system is the high sample consumption needed to load the syringe and flush through connecting tubing.
Loading a liquid autosampler syringe usually consists of a sequence of syringe “washes” and “pumps”.
- A “WASH” consists of filling the syringe to the full volume with either solvent or sample and then dispensing the full contents into a waste container.
- A “PUMP” fills the syringe to full volume (see below) with sample and then dispensing it back into the sample vial.
Thus, when constructing an autosampler profile, the syringe is usually
- “Washed” with solvent(s) X times, to clean the syringe;
- “Washed” with sample Y times to remove excess solvent and prevent sample dilution in the syringe;
- Finally “pumped” Z times to fill with sample and remove air bubbles from the loaded volume prior to injection (do not perform this step if there are particles in the sample vial).
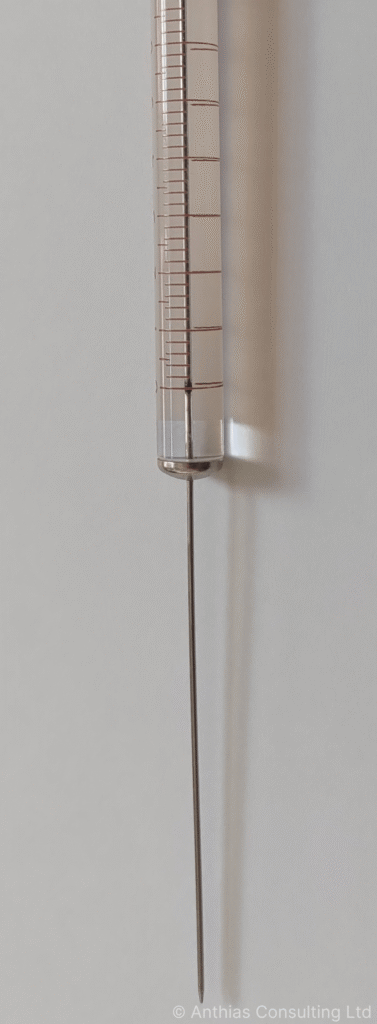
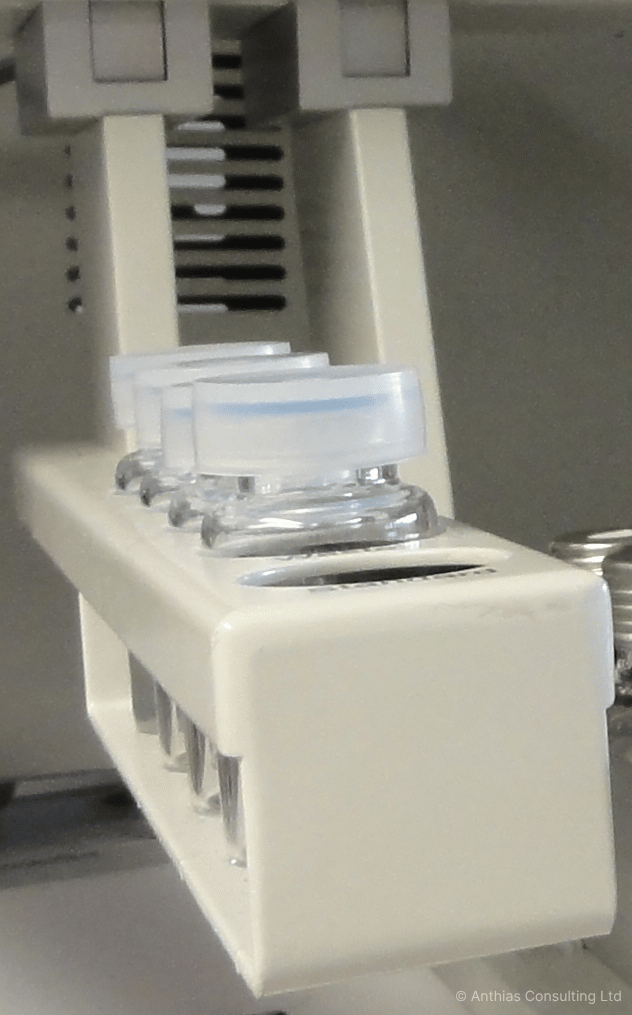
Where there is an option to clean with multiple solvents (Figure 1), the primary cleaning solvent should match the solvent used for the samples, this is most likely to dissolve and remove sample residues from the syringe after injection, as it has been chosen for the sample. However, if the solvent is very polar or very non-polar then it isn’t so good at removing low concentration residue of the opposite polarity and over time (days, weeks, months depending on the number, concentration and cleanliness of the samples) that residue can gradually build-up, becoming visible in the syringe barrel (Figure 2) and at the top of the syringe. The build-up can cause stickiness of the plunger and ultimately can lead to a bent plunger or sometimes a bent needle, depending on how the autosampler works. When the solvent is very volatile, and/or the analytical run time is long, there is a possibility for the solvent plunger to “dry-out” between injections. This may also cause the plunger to stick and the autosampler to fault, stopping the analytical sequence.
As a precautionary action, a second wash solvent may be used that could be less volatile and the opposite or a mid-polar solvent to ensure that all residue, both apolar and polar, is removed during the washes. If there is a choice for the second solvent, a more polar (methanol, iso-propanol) is useful, as this will wet the syringe plunger and barrel, maintaining lubrication until the next injection. As part of the injection programme, the syringe can then be pre-washed with the primary solvent, to remove all traces of the secondary solvent before loading the next sample for injection.
Where there is a limited volume of sample or solvent available, (cost, rarity, limited reservoir size) modern autosamplers can be set to wash and rinse with a reduced volume, thus conserving sample and/or solvents.
To learn more about autosampler methods attend any of the following courses:
- Practical Essentials of GC and GC-MS data analysis and sample preparation, day three or module eight, Practical Essentials of GC and GC-MS sampling and sample preparation techniques of our Complete GC and GC-MS
- Hands-on GC theory and methods, day one of our Hands-on GC and GC-MS
- Practical Essentials of LC introduction mobile phases and pumps and sample introduction, day one or module three, Practical Essentials of LC sample introduction of our Complete LC and LC-MS
- Hands-on HPLC theory and methods, day one of our Hands-on HPLC and LC-MS
To learn more about autosampler maintenance attend any of the following courses:
- Applied GC and GC-MS maintenance and troubleshooting, day five or module elven Applied GC and GC-MS maintenance of our Complete GC and GC-MS
- Hands-on GC maintenance, day two of our Hands-on GC and GC-MS
- Applied GLC and LC-MS maintenance and troubleshooting, day five or module elven Applied LC and LC-MS maintenance of our Complete LC and LC-MS
- Hands-on LC maintenance, day two of our Hands-on LC and LC-MS
For both method and maintenance, attend any of the following:
- Comprehensive GC hardware (Agilent GC)
- Comprehensive GC hardware (Shimadzu GC)
- Comprehensive GC hardware (Thermo GC)
- Comprehensive GC hardware (Scion/Bruker/Varian GC)
- Applied AAS
- Applied ICP-MS
- Applied ICP-MS/MS
- Applied ICP-OES
Don’t forget that you can also subscribe to our newsletters and receive useful tips straight to your inbox!


